|
| The Guard Tower in the Village of Hommlet |
Over the years I’ve created a number of terrain pieces, many of them focusing on castles and forts, many featured here on the blog.
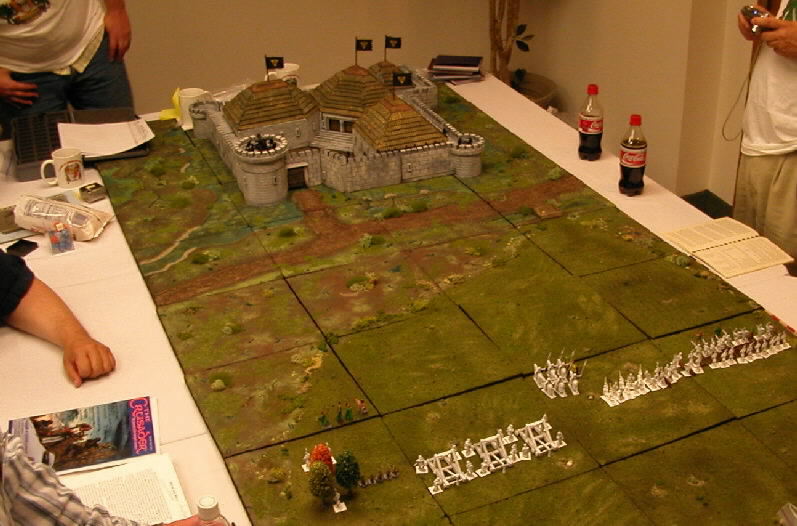
In that vein, for my Greyhawk Campaign I’m running I decided to make the Guard Tower from T1 - The The Village of Hommlet. The natural question is why not create the Moathouse, since that’s where the adventurers will mostly be plying their trade? The answer is simple: way back in 2006, Paul Stormberg commissioned a scale model version for a wargame of Chainmail which Gary Gygax himself participated in.
So rather than create another one, I settled on the Guard Tower (area #31) and have been working events in my Greyhawk campaign in which the tower will feature. But that is very much in the future, so I will just focus on the construction of the tower itself for this post.
The first step in construction was making a copy of the tower floor plans and taping it to the shelving in front of me on the painting table for reference through the whole thing. This was very helpful as I didn’t have to keep looking over to the module itself.
On that subject the floor plans of the tower were helpful. The illustration on page 7 and the back cover were less so. At least the illustration on page 7 did give me a good idea of the stairs if nothing else for later. The back cover really doesn’t tell much for this nor does the original cover art. This isn’t a criticism per se, it’s just noting for what I needed they would not be used as my guides.
To start the Material List:
- Cardboard
- Thinner cardboard (the types from cereal, snack, or cracker boxes)
- Toothpicks (for the arrow loops and trap door on the middle tower)
- Popsicle sticks (for the drawbridge and flooring of the 2nd floor)
- A round container of oatmeal (serves as the middle tower)
- Small finishing nails (for the studs on the door to the middle tower)
- R4 residential foam (the base)
- Pressboard (for the base of the 2nd floor)
- Posterboard (for the battlements)
- Paint
- Superglue
- White glue
- Glue gun
- Xacto knife
- Stone gravel and green flock for the base
- Coping saw
- Dremel tool
- Small electric drill
 |
| Very, very early WIP |
The second challenge is that the interior was going to be a chore to even get remotely passable in terms of usability. For a while I debated on the wisdom of doing so. In the end I knew I’d have to create the interior and made peace with it. At the same time, looking at the floor plans I knew it would be impossible to do exactly as is. It was also at this stage that I decided to omit the lowest level as that was going to add another level of complexity and to the overall height.
The third and final challenge was using flat surfaces in a round structure. Trust me, it’s much more difficult than it sounds. Cardboard can be bent and cut, yes, but some shapes are not easy to do.
The first big task was to get the shape the right size for the tower proper along with the two flanking towers to be circular. I was ideally looking for a circle the size of a bucket but none fit what I was roughly measuring out. Through some trial and error I got it right after the second try.
Once that was done, creating the vertical walls was somewhat easier. The glue gun was invaluable here, keeping everything set while I added the next piece and the next. In short order the basic form was set and I went over the glue gun joints with white glue to reinforce them all. Then the tower sat for a number of months.
When I picked this back up about a month ago, I remembered the interiors would be a chore, but so too would the stone work for the outside. As you can see from the work in progress photos it was a LOT of cutting and gluing with the glue gun.
For the materials to make the stone I fortunately saved snack boxes over the years for construction. The excellent How to Make Wargames Terrain book from Games Workshop is invaluable for this. I have a copy but it has been out of print for decades (the 1996 version is the best in my opinion).
The attaching of the stone to the outer surface was a long process over about two weeks. As you can see it became something quite garish from all the clashing colors as I went! (see the photo to the right). The primary challenge here was containing/corralling the glue from the glue gun. The glue sets quickly and speed is needed to get the part in question into place before it sets without excess glue or wispy strings. The good thing is after doing it so many times it got to be second nature.The first interior work was the hardest: the ramps. While it works fine for an adventure in role-playing
 |
| Color explosion! |
games it does not work well for a modeling project, nor for lining up arrow slits. Hearkening back to my Nippon castle from several years ago I was eventually able to get the ramps passable and removable from the interior. Not perfect, just passable. I really, really wish Gary would have done something different here… The interior stones? As said it wasn’t easy, but I did get into a rhythm in some spots and listened to several podcasts to while away the time as I toiled.
The battlements were the next stop after the interior. Once again, a previous project helped here. I have not posted it yet, but I have created an entire Empire castle (see the very end of the post for more on this) roughly based on the Warhammer Mighty Fortress. In that castle project I figured out how to make battlements from poster board and to do it in such a way to expedite the process. Basically the key breakthrough was to lightly score the flat section that forms “in between” each battlement and fold it down. Coupled with a slightly higher battlement section behind, the two were glued together leaving only the sides of each battlement “tooth” to be completed.
The big roadblock here? As you guessed it, doing this on a round surface made it tougher. I had to account for the circumference being smaller on the interior than the exterior. Through trial and error I worked it out and then started attaching sections to the upper tower base.
The next big challenge was the roof and machicolations on the removable tower top. The machicolations took quite a while to get right as the spacing was at best an inexact science. Several times I needed to cut already glued sections off to get the whole to fit right. But after a while—with a lot of putting the top on, marking the under-hang, and popping it off—I was able to add them one by one.
Another point of note was the central tower itself. I’m fairly sure oatmeal containers are not designed with hobby terrain in mind despite being the perfect size and shape (let alone being sawed through). Because of that, getting it to set level took some time and some shims. In the end it worked perfectly with the right shape and diameter.
 |
| Removable top and catapults |
Once the base construction was done and I repeated the method for the battlements on the upper level, it was also time to repeat the steps for the machicolations on the middle tower to finish it off. The final push of the “stones” commenced, wrapping the middle tower surface all the way to the top and adding the trap door.
It’s important to note that I did not make the middle tower removable like the lower. The interior sections of the lower tower showed me that actually getting my hands into an even smaller diameter was going to be a problem. On the lower sections it was barely possible, and I wasn’t looking forward to that again. At that point I made the executive decision to skip it.
Next up was the base. The base was nothing more than cut R4 residential foam (which can be found at a home improvement store) with a depression hollowed out for the tower to sit in. That got to be quite messy with cutting and sanding to get it to fit right. In the end, like the middle tower, it required a few shims here and there for it to set level. This did not matter too much as I knew they would be covered up when I added the gravel to the base. The base was set with copious amounts of white glue and left to dry overnight.
The next night I scored the base in several sections and used white glue to attach the stone gravel and let that sit overnight.