
But to the point of this post: while riding Pirates of the Caribbean several times I paid more attention to something I have only given a scant thought previous: the skull rock at the very beginning of the ride. The skull is pretty cool and is fully detailed here. I wont go into too much detail as that site does a very good going into detail but I'll cover the basics.
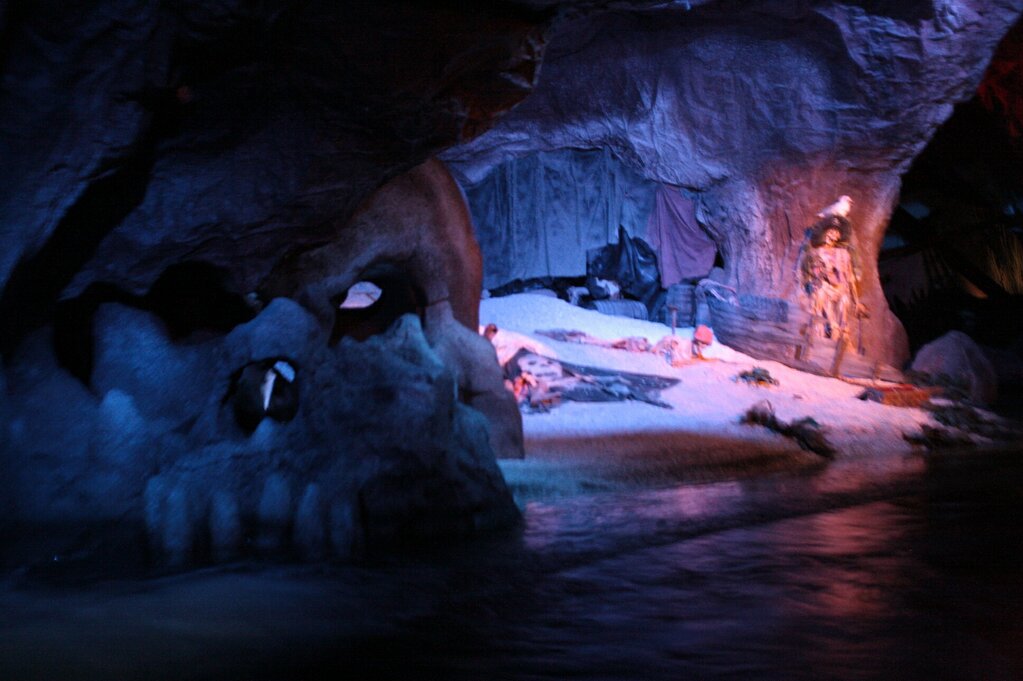
The rock when viewed face on looks like a skull which is pretty cool. As the site listed above notes when you're on the ride, you glance at it and then your attention is drawn to the beach scene just beyond. But the thing is the skull is not a solid piece, its a 3D sculpture.
So when we went through I really took notice of it and when we got back I searched out the site above and from my own recollection. I decided to recreate the skull as as a terrain piece for Warhammer Fantasy Battle.
I don't normally show Work In Progress (WIP) pieces, but this has come out very cool thus far. Like the sculpture it is based on, from the side the skull disappears and becomes just a pile of rocks.But when viewed head on it appears as a skull.


As you can see as it turns the skull "disappears". Basically the structure is five rows of foam carved with the x-acto knife to create the effect of the skull.
The materials and tools list is as follows and is not that extensive:
- White glue
- R4 residential foam-siding
- X-acto knife.
- Sand paper
- Masking tape and cardboard for the base. Although one section is press-board before I realized I had to make the base larger.
- Some white plaster Spackle to fill in gaps in the foam pieces and sanded.
- Black, dark gray, light gray and white acrylic paint (don't use spray paint as it melts foam).
Special thanks to Parkeology for the photos and the break down of the construction. While its not exactly as I remember it and I had to modify to create what I remembered its about the only photo I could find.
That's freaking cool! Absolutely love it, reminds me of the Skull map/key from Goonies as well.
ReplyDeleteGoonies never say die!
ReplyDelete